
Custom Terrain Layer
Turning it on
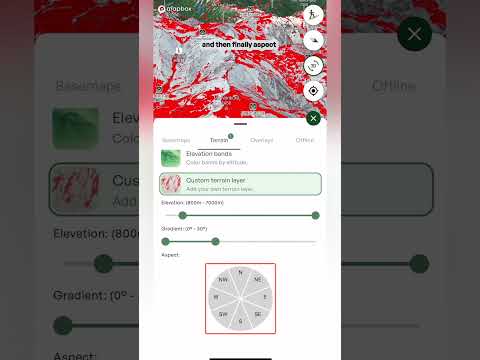
- Open the layers menu Tap the layers button on the map, go to the Terrain tab and tap Custom terrain layer. The controls for building your layer appear underneath.
The three filters
- Elevation Drag the two handles to set the lowest and highest elevation you want. The range is shown above the slider. For example: if the forecast says rain below 1,800 metres, set your range from 1,800 metres up to stay in the snow.
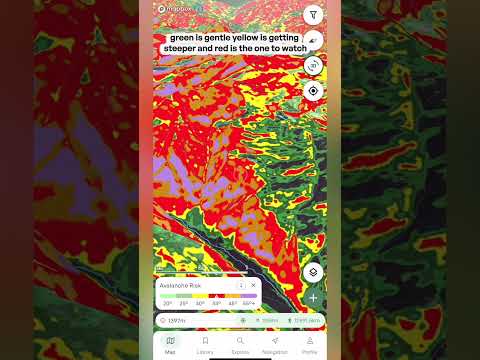
- Gradient Drag the two ends to set how steep the terrain should be (it's called Angle on the web app). The range in degrees is shown above the slider. For example: if the avalanche risk is high, you may want to stay on slopes under 30 degrees, so choose 0 to 30 degrees.
- Aspect Tap the directions on the wheel to choose which way the slopes face. Selected directions turn green (coral on the web app), and the ones you've chosen are listed above the wheel. For example: after a warm, sunny spell, tap north, northwest and northeast to find the colder, drier snow.
On the map
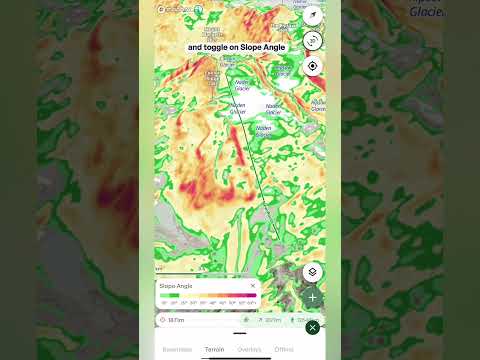
- The highlighted terrain Only the terrain that matches all three filters at once is shown, highlighted in red. Change any filter and the map updates.
- The legend A small card at the bottom of the map shows the settings you've chosen, so you can see at a glance what the layer is showing.
Tip: a custom layer narrows down where to look. Use it to find the terrain you want, then check conditions and the Avalanche forecast before you commit to a line. Steeper slopes above a gentle slope can still slide onto it, so look at what's above you too.