
Plot an Area

Sometimes you want to mark out a whole zone, not just a line. Plot an area lets you outline it right on the map, then check the weather and daylight for it.

Starting an area

  • Plot an area Tap the plus button on the map and choose Plot an area.

Drawing the shape

  • Tap to add points Tap the map to drop each corner of your area. The length of each side and the total area in square kilometres update as you go, and the distance around the edge shows in the panel.
  • Undo Tap the undo button at the bottom left of the map to take back your last point.
  • Color Pick one of seven colors for your area, so different zones are easy to tell apart.
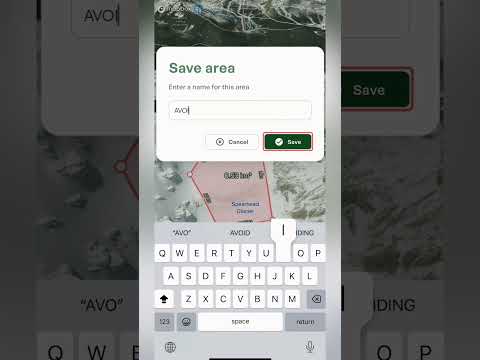
  • Save or cancel Save stays greyed out until your points make a shape. Tap Save, give the area a name, and it stays on your map with its name across the middle. Tap Cancel to throw it away.

Once it's saved

Once it's saved, the panel shows the area's name, how many points it has, its size in square kilometres and the distance around the edge. It also has three tabs: Details, Content and Weather.

  • Details The local time and timezone, plus sunrise and sunset, first and last light, and the moon.
  • Content Change the color, add photos, file the area into one of your lists and write private notes.
  • Weather The forecast for the zone, with current conditions and a day-by-day table. Use the range selector to look at the next 24 hours, 3 days, 7 days or 16 days, and the charts underneath cover things like temperature, precipitation, wind, the freezing level, cloud cover and snow depth. Best for: checking what a day in that zone will be like before you commit.

Along the bottom, you can edit the area, orbit around it in 3D, or share it with someone else.

What it's good for

  • Zones to avoid Outline somewhere you've decided to stay out of, like a closed area or a spot you've been told to avoid, and give it a color that stands out.
  • Zones to ski or climb Mark out the zone you plan to ski or climb, then share it with a friend so you both know exactly where you're headed.
  • Measuring See how big a glacier, bowl or basin is, and how far it is around the edge.
  • Weather for a zone Get a forecast for the whole zone, hour by hour or day by day, without placing a waypoint or plotting a route.
Keep learning

Watch video

Your Route Breakdown

Once a route is saved, Outmap tells you how long it'll take, which way it faces and what the weather's doing, before you've taken a single step.

What you'll see

  • The header A saved route opens with its name and tags for the route type and activity. It has three tabs: Details, Content and Weather.
  • Travel estimate At the top of Details, Plan for shows the total time, split into your moving time and your breaks and transitions. Best for: knowing how long to plan for, and whether you'll have enough daylight.
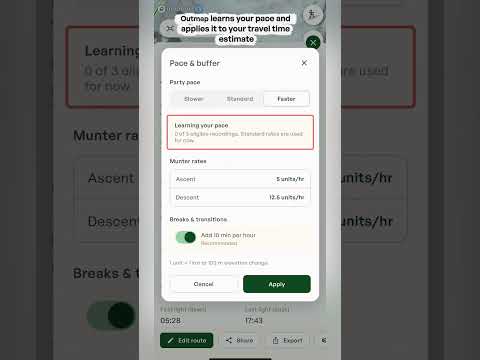
  • Pace & buffer Tap it to match the estimate to how you actually move. Choose your party pace, Slower, Standard or Faster, and switch on breaks and transitions to add 10 minutes per hour to your estimate. Once you start recording activities, Outmap also learns your own pace and uses it.
  • The Munter method Outmap works out your moving time using the Munter method, which is based on the distance and elevation change of your route. Tap the info icon to read the full explanation.
  • Aspects A compass-style diagram in the top right. The directions that are filled in show which way the slopes along your route face. Best for: seeing at a glance whether you're crossing north, south, east or west facing terrain.
  • Location, and Sun & Moon The local time and timezone, plus sunrise and sunset, first and last light, and the moon, just like a waypoint.
  • Content tab The place to organise your route. Change its activity type, pick a colour for it, add photos, file it into a list and write private notes.
  • Weather tab The same forecast you get for a waypoint: current conditions, day-by-day and hour-by-hour forecasts, and charts for things like precipitation, snow depth, temperature, wind and the freezing level.
Important: the travel time is an estimate based on distance and elevation change. Terrain, conditions and fitness can all affect your actual time, along with the snow, the weather and your group, so treat it as a starting point.
Watch video

Creating a waypoint

Drop a waypoint anywhere on the map to remember a peak, a secret pow stash or a campground, then plan your way there.

A waypoint is a pin you can drop anywhere on the map, not just on marked objectives. Drop one to remember a place and how to get back to it.

Dropping a waypoint

  • Line up the red dot Move the map until the red dot in the middle of your screen is over the spot where you'd like your waypoint.
  • Add a waypoint Tap the plus button in the bottom right and select Add a waypoint. The pin drops on the red dot.
  • Name it Outmap names the waypoint after the closest town to start with. To change the name, tap Save and type in the name you'd like.

What you see straight away

  • Elevation and "to you" Under the name is the waypoint's elevation, and a "to you" bar showing the height difference, the distance and the bearing from where you're standing. The T next to the bearing means true north. Best for: a quick sense of how far away a spot is in distance and elevation.
  • Details tab The exact coordinates, with a copy icon to copy them in one tap. Underneath are the local time and timezone, the elevation, the nearest town and a button to open the spot in another maps app, plus sunrise and sunset, first and last light and the moon. Best for: sending a precise location to a friend, or pasting it into another app.
  • Weather tab A forecast for that exact spot on the map, with an hour-by-hour forecast and a day-by-day forecast for the next 16 days.

Making it yours

Once it's saved, a Content tab appears alongside Details and Weather.

  • Icon and color Choose an icon for the waypoint, like a tent, a camera or a climber, and pick one of seven colors, so you can tell it apart on the map.
  • Photos Tap Add photo to attach photos to the waypoint.
  • Lists File the waypoint into one of your lists to keep it organized.
  • Notes Write private notes, like how you got there or what to look out for.
  • Public visibility A switch decides whether the waypoint is public. When it's on, anyone can see the waypoint on the public map, so turn it off if it's a spot you want to keep to yourself.

Along the bottom

  • Edit location Dropped it in the wrong spot? Tap Edit location to move it.
  • Share Send the waypoint to someone else.
  • Export Export the waypoint to use it somewhere else.
  • Create Route Opens the route planner so you can plot how you get there.
Watch video

Plot an Area

Outline any zone on the map, like somewhere to ski with a friend or an area you want to avoid, and Outmap tells you how big it is, what the weather's doing and how much daylight you've got. Then you can share it with a friend.

Sometimes you want to mark out a whole zone, not just a line. Plot an area lets you outline it right on the map, then check the weather and daylight for it.

Starting an area

  • Plot an area Tap the plus button on the map and choose Plot an area.

Drawing the shape

  • Tap to add points Tap the map to drop each corner of your area. The length of each side and the total area in square kilometres update as you go, and the distance around the edge shows in the panel.
  • Undo Tap the undo button at the bottom left of the map to take back your last point.
  • Color Pick one of seven colors for your area, so different zones are easy to tell apart.
  • Save or cancel Save stays greyed out until your points make a shape. Tap Save, give the area a name, and it stays on your map with its name across the middle. Tap Cancel to throw it away.

Once it's saved

Once it's saved, the panel shows the area's name, how many points it has, its size in square kilometres and the distance around the edge. It also has three tabs: Details, Content and Weather.

  • Details The local time and timezone, plus sunrise and sunset, first and last light, and the moon.
  • Content Change the color, add photos, file the area into one of your lists and write private notes.
  • Weather The forecast for the zone, with current conditions and a day-by-day table. Use the range selector to look at the next 24 hours, 3 days, 7 days or 16 days, and the charts underneath cover things like temperature, precipitation, wind, the freezing level, cloud cover and snow depth. Best for: checking what a day in that zone will be like before you commit.

Along the bottom, you can edit the area, orbit around it in 3D, or share it with someone else.

What it's good for

  • Zones to avoid Outline somewhere you've decided to stay out of, like a closed area or a spot you've been told to avoid, and give it a color that stands out.
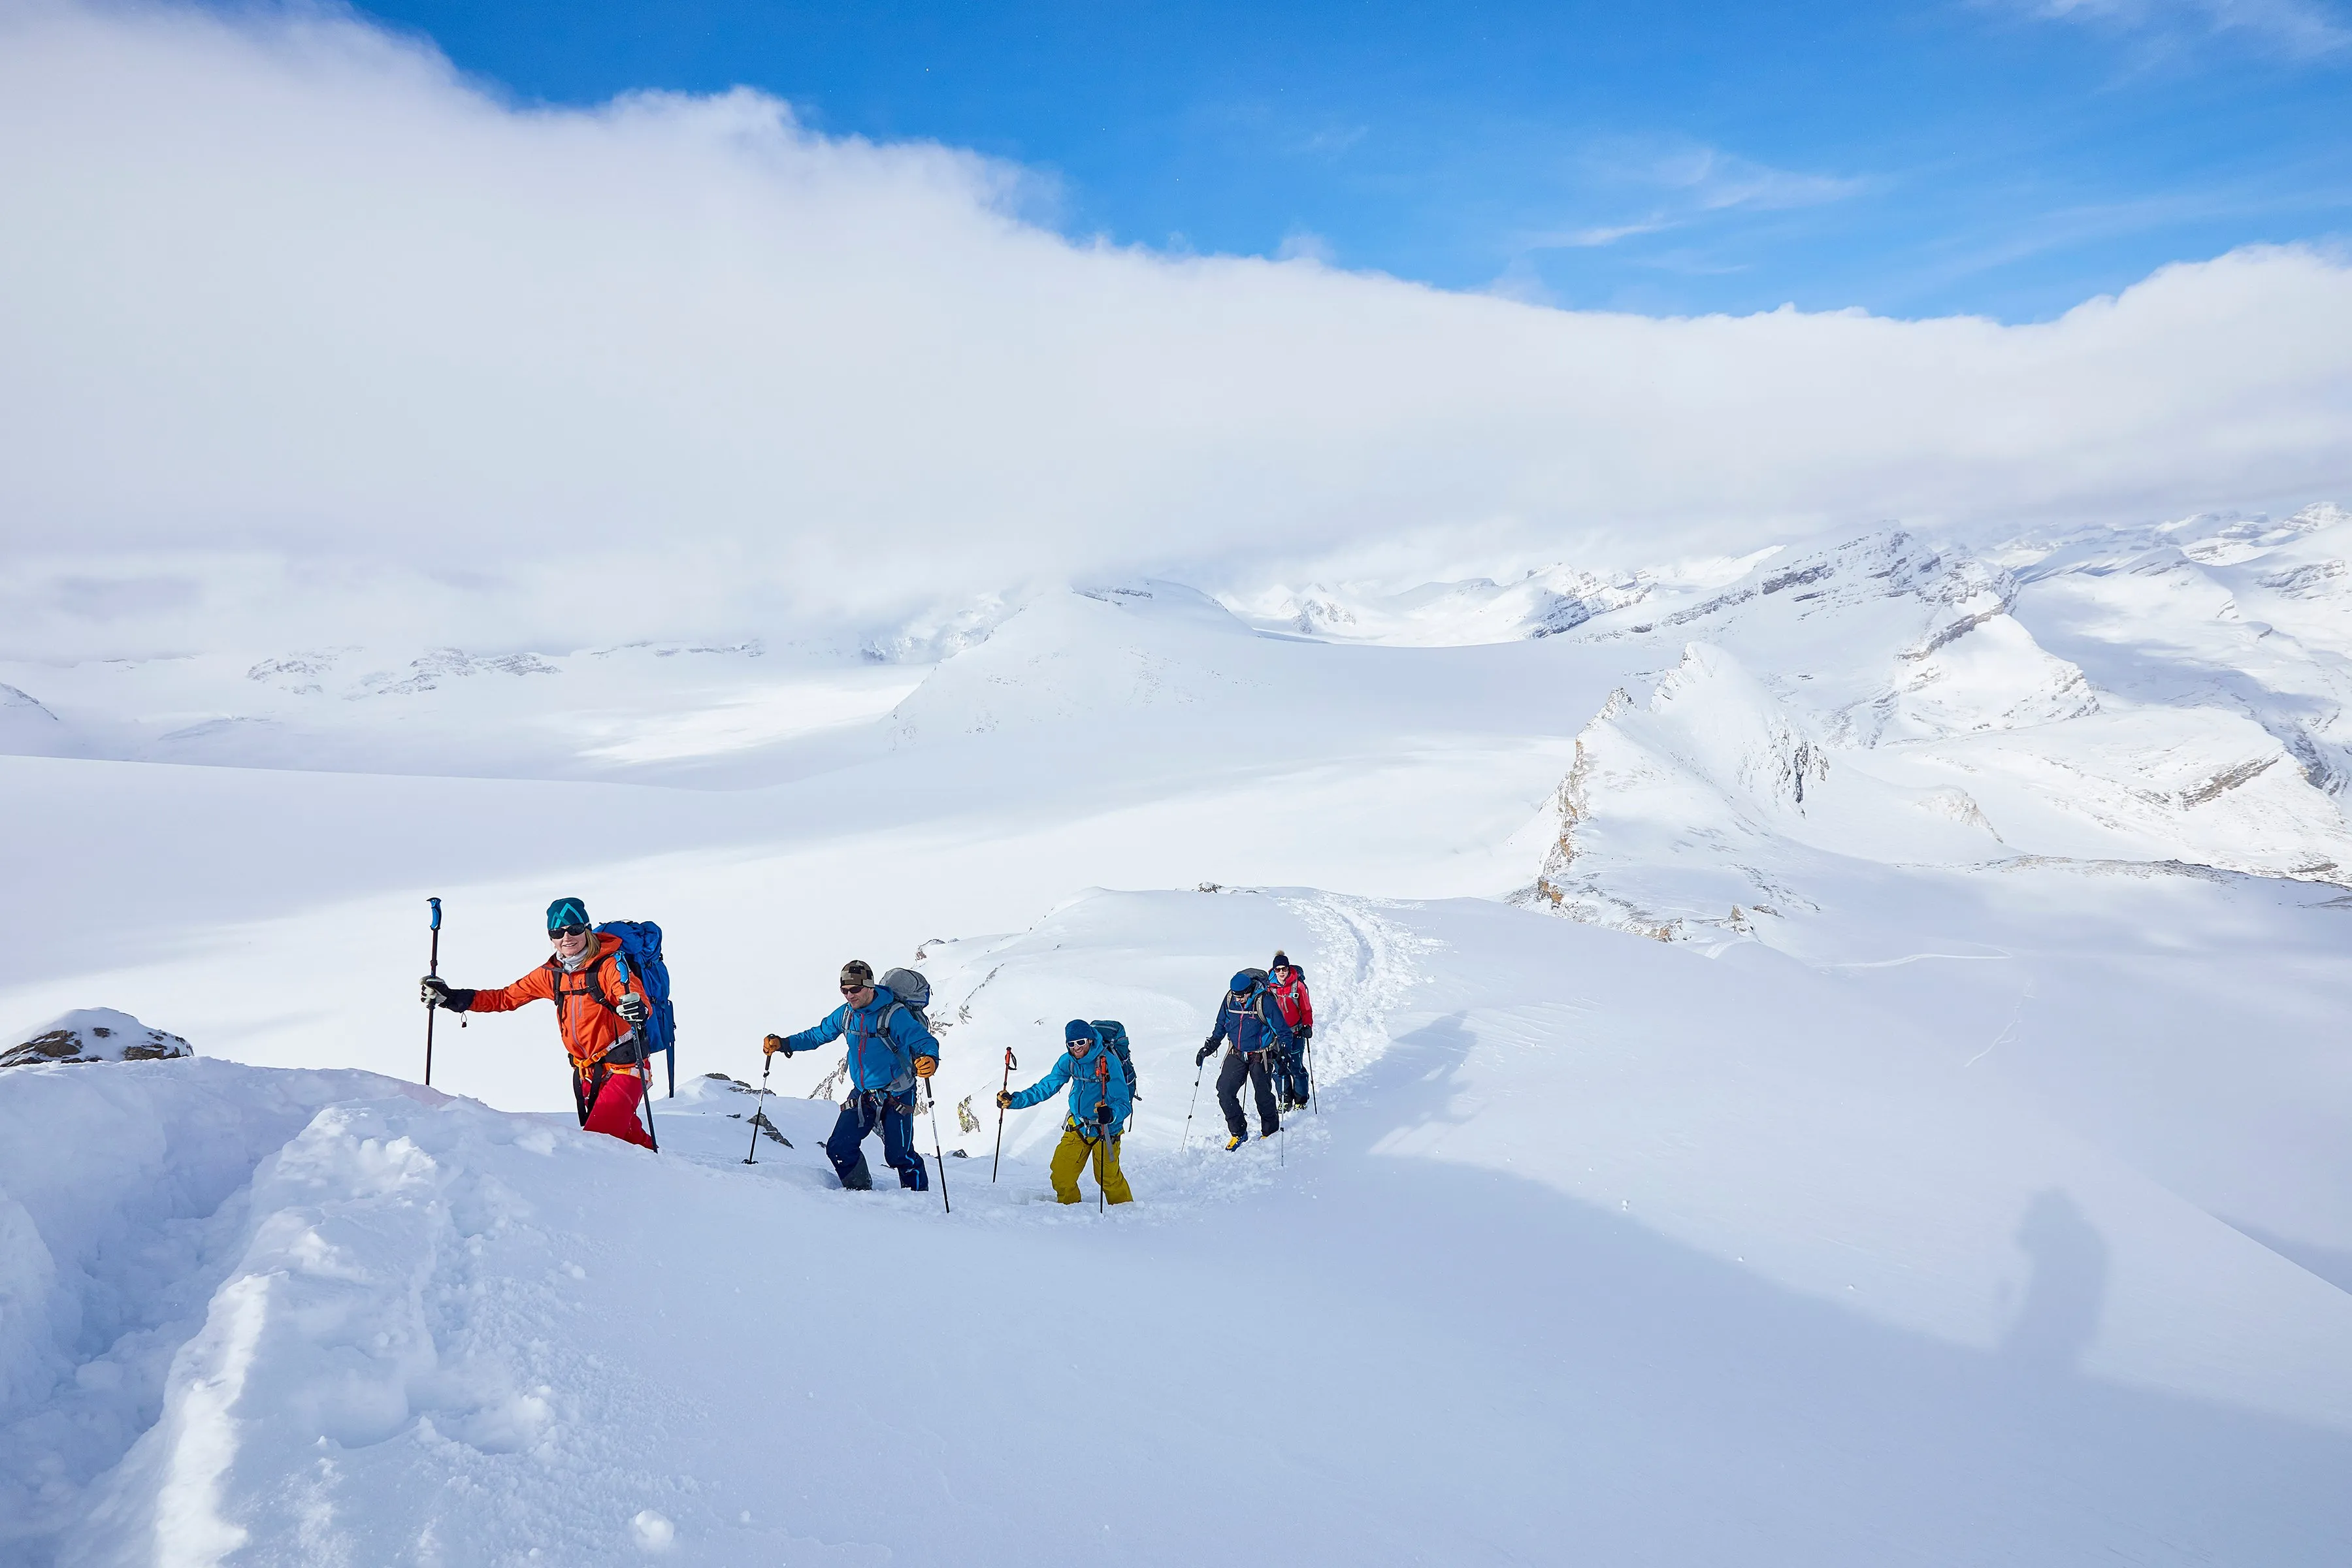
  • Zones to ski or climb Mark out the zone you plan to ski or climb, then share it with a friend so you both know exactly where you're headed.
  • Measuring See how big a glacier, bowl or basin is, and how far it is around the edge.
  • Weather for a zone Get a forecast for the whole zone, hour by hour or day by day, without placing a waypoint or plotting a route.