
Provinces & regions
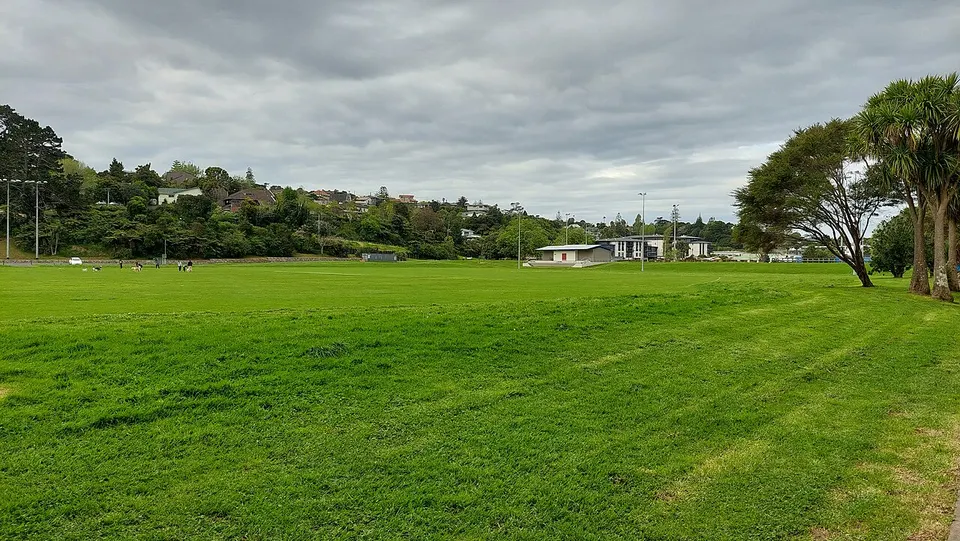
Auckland Region
Explore routes & places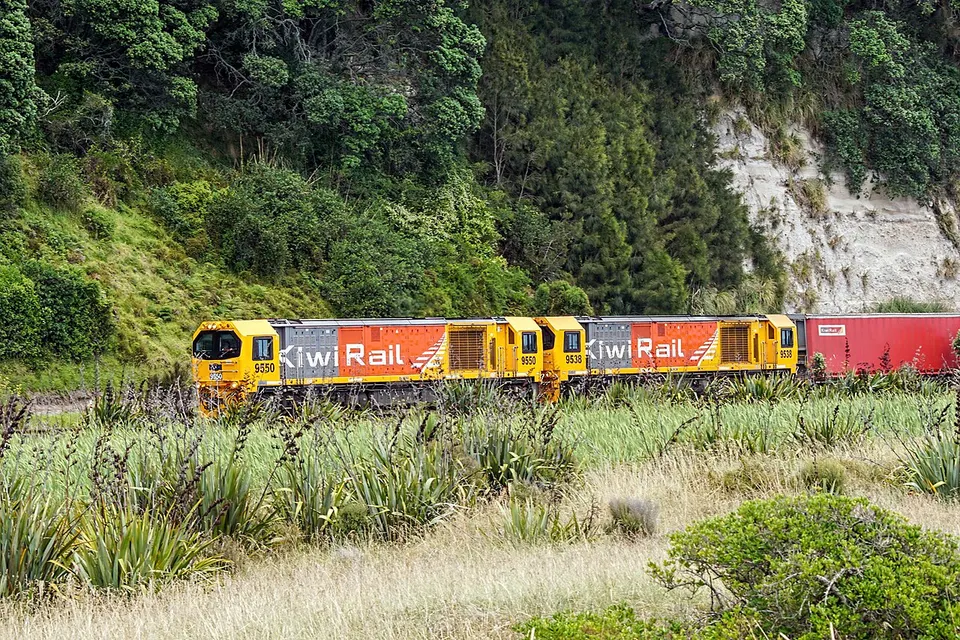
Bay of Plenty Region
Explore routes & places
Canterbury Region
Explore routes & places
Gisborne Region
Explore routes & places
Hawke's Bay Region
Explore routes & places
Manawatu-Wanganui Region
Explore routes & places
Marlborough Region
Explore routes & places
Nelson Region
Explore routes & places
Northland Region
Explore routes & places
Otago Region
Explore routes & places
Southland Region
Explore routes & places
Taranaki Region
Explore routes & places
Tasman Region
Explore routes & places
Waikato Region
Explore routes & places
Wellington Region
Explore routes & places
West Coast Region
Explore routes & places
Routes & places
- HutHut
Black Spur Slab Hut
New Zealand
Explore place - HutHut
Blackadder Rest
New Zealand
Explore place - HutHut
Blowfly Hut
New Zealand
- Capacity: 8
- HutHut
Blue Lake Hut
New Zealand
- Capacity: 16
- HutHut
Blue Mountain Hut
New Zealand
- Capacity: 4
- HutHut
Blue Range Hut
New Zealand
- Capacity: 4
- HutHut
Bluff Hut
New Zealand
Explore place - HutHut
Boar Inn
New Zealand
Explore place - HutHut
Bob Lee Hut
New Zealand
Explore place - HutHut
Bob's Camp Bivouac
New Zealand
- Capacity: 2
- HutHut
Bobs Hut
New Zealand
- Capacity: 8
- HutHut
Bog Inn Hut
New Zealand
- Capacity: 4
- HutHut
Boo Boo Hut
New Zealand
- Capacity: 4
- HutHut
Borland Bivouac
New Zealand
Explore place - HutHut
Bottom Gordons Hut
New Zealand
- Capacity: 6
- HutHut
Bottom Misery Hut
New Zealand
- Capacity: 6
- HutHut
Bottom Mount Peel Hut
New Zealand
Explore place - HutHut
Boulder Lake Hut
New Zealand
- Capacity: 8
- HutHut
Boundary Creek Hut
New Zealand
Explore place - HutHut
Boundary Hut
New Zealand
- Capacity: 3
- HutHut
Boundary Hut
New Zealand
Explore place - HutHut
Boyd Hut
New Zealand
- Capacity: 16
- HutHut
Boyle Base Hut
New Zealand
- Capacity: 12
- HutHut
Branch Bivouac
New Zealand
- Capacity: 2