
Find your destination
Ashburton District
Explore routes & places
Christchurch City
Explore routes & places
Hurunui District
Explore routes & places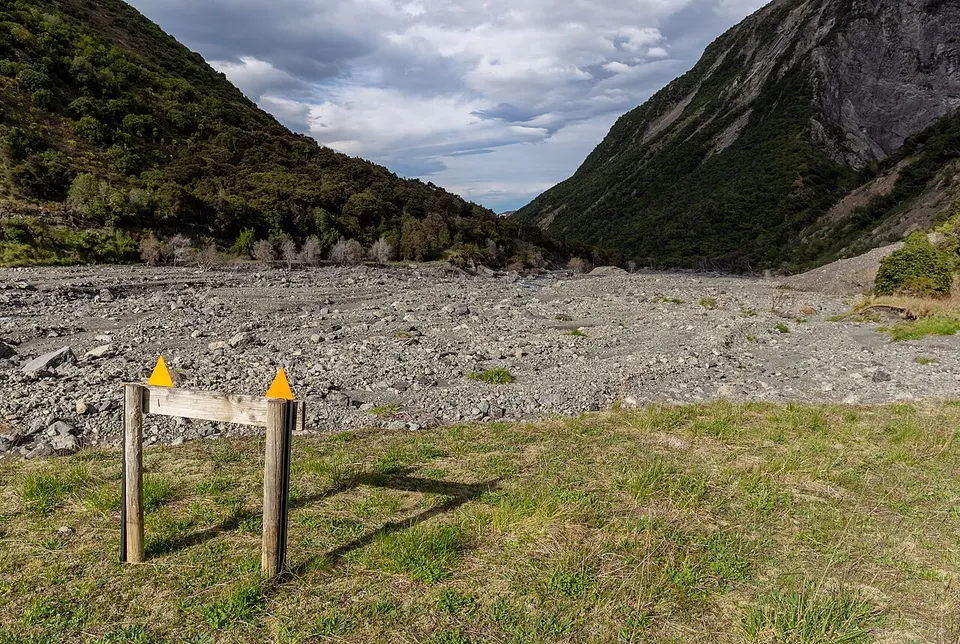
Kaikoura District
Explore routes & places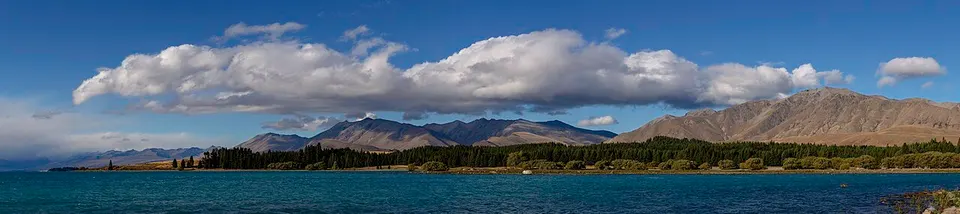
Mackenzie District
Explore routes & places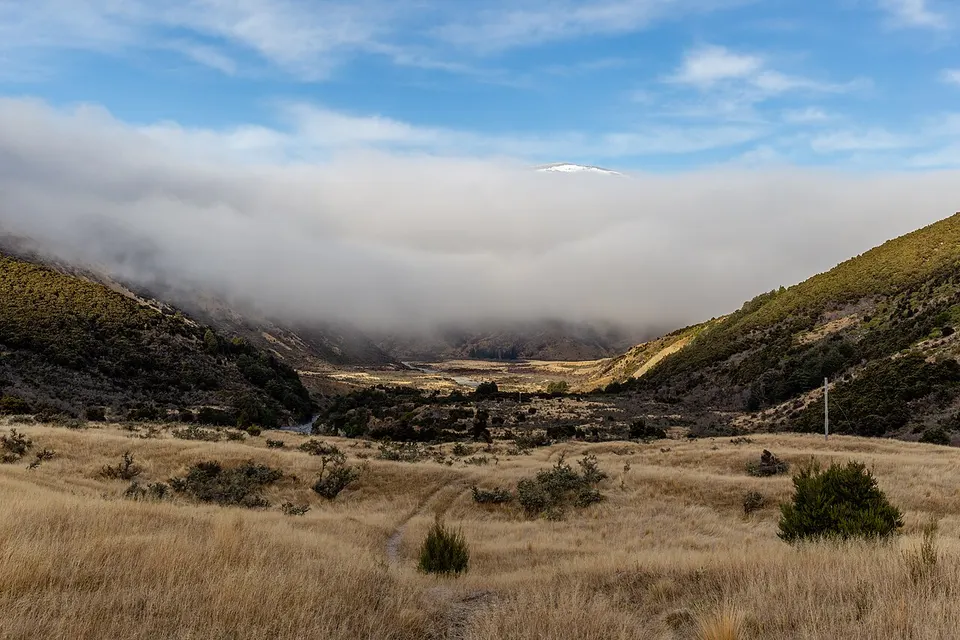
Selwyn District
Explore routes & places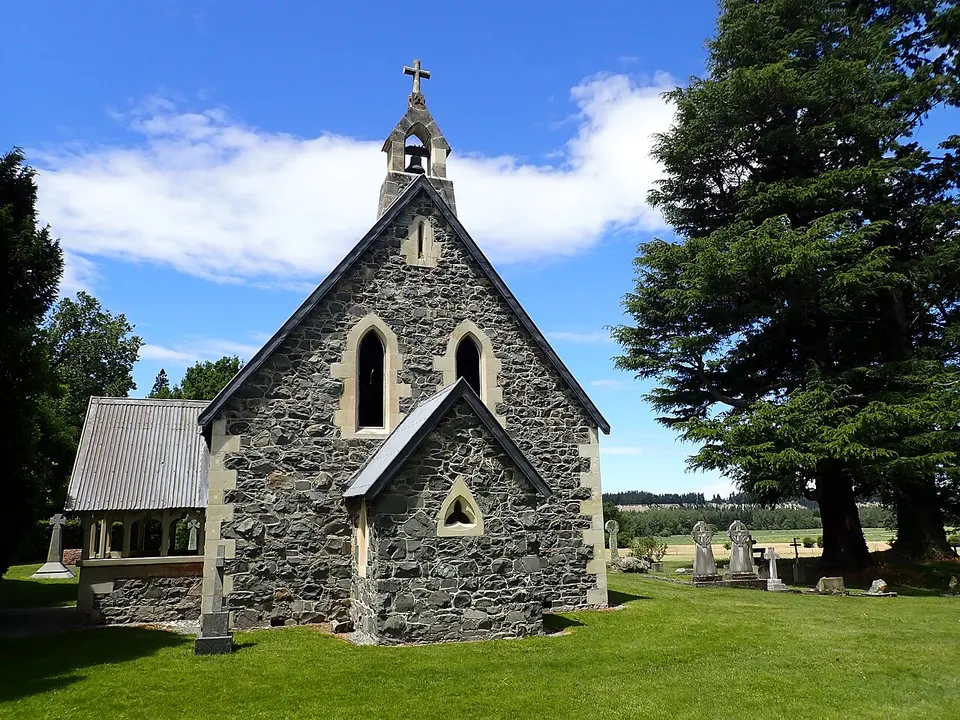
Timaru District
Explore routes & places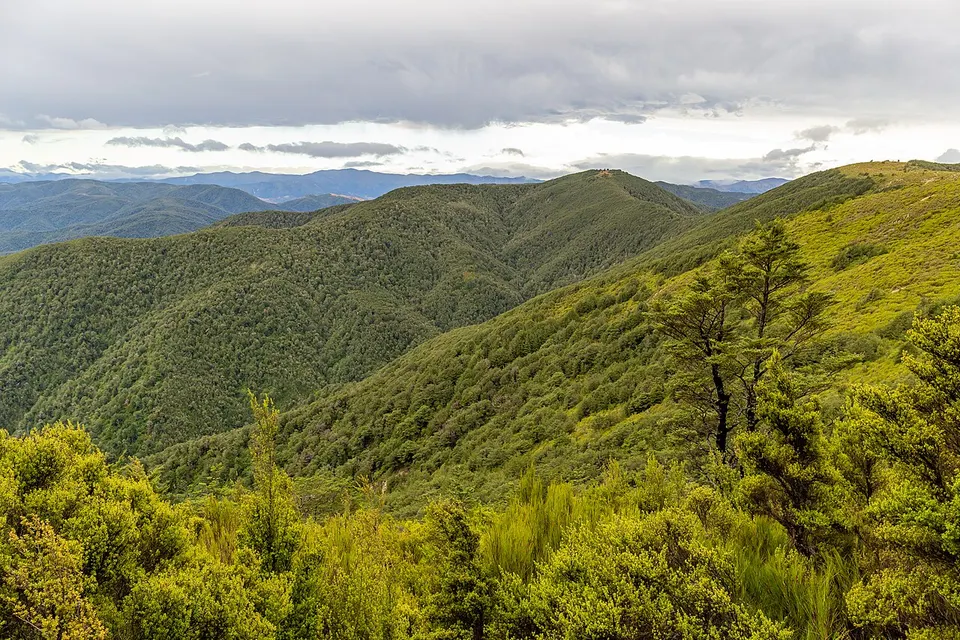
Waimakariri District
Explore routes & places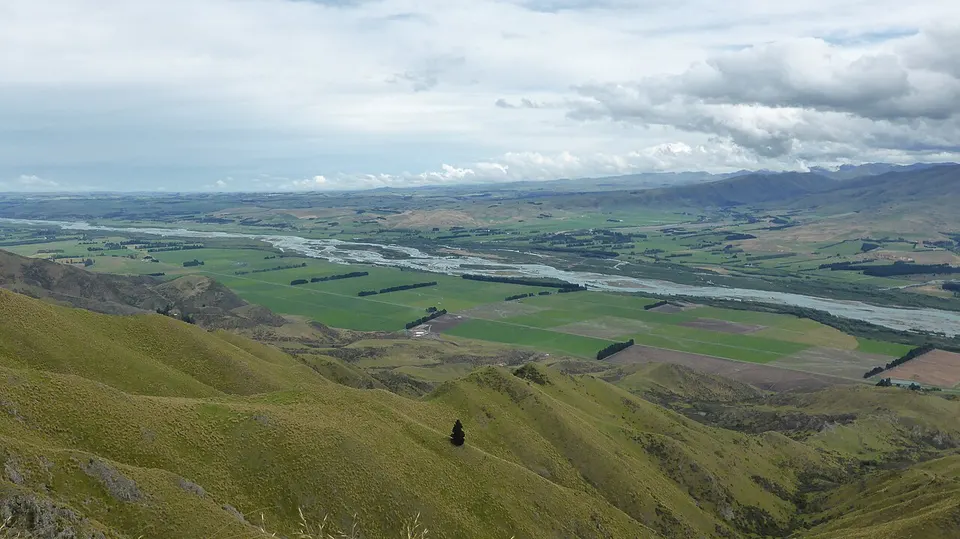
Waimate District
Explore routes & places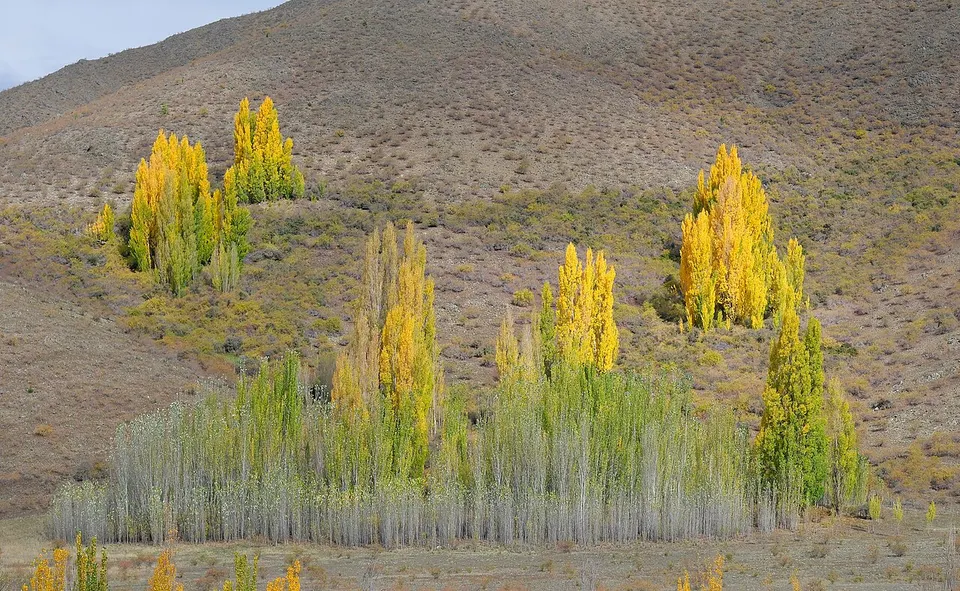
Waitaki District
Explore routes & places
Routes & places
- HutHut
A Frame Hut
Canterbury Region
- Capacity: 3
- HutHut
Alford Hut
Canterbury Region
Explore place - HutHut
Anderson's Hut
Canterbury Region
Explore place - HutHut
Anne Hut
Canterbury Region
- Capacity: 20
- HutHut
Ant Stream Hut
Canterbury Region
Explore place - HutHut
Anti Crow Hut
Canterbury Region
- Capacity: 6
- HutHut
Avoca Homestead
Canterbury Region
- Capacity: 6
- HutHut
Avoca Hut
Canterbury Region
- Capacity: 6
- HutHut
Back Basin Hide
Canterbury Region
- Capacity: 2
- HutHut
Baikie Hut
Canterbury Region
Explore place - HutHut
Banfield Hut
Canterbury Region
Explore place - HutHut
Barker Hut
Canterbury Region
- Capacity: 10
- HutHut
Barron Saddle Hut
Canterbury Region
Explore place - HutHut
Basins Hut
Canterbury Region
- Capacity: 6
- HutHut
Bealey Hut
Canterbury Region
- Capacity: 6
- HutHut
Bealey Spur Hut
Canterbury Region
- Capacity: 6
- HutHut
Beetham Hut
Canterbury Region
- Capacity: 4
- HutHut
Benmore Hut
Canterbury Region
- Capacity: 4
- HutHut
Birdcage Hut
Canterbury Region
Explore place - HutHut
Black Hill Hut
Canterbury Region
- Capacity: 6
- HutHut
Black Spur Slab Hut
Canterbury Region
Explore place - HutHut
Bob's Camp Bivouac
Canterbury Region
- Capacity: 2
- HutHut
Bottom Mount Peel Hut
Canterbury Region
Explore place - HutHut
Boyle Base Hut
Canterbury Region
- Capacity: 12