
Provinces & regions
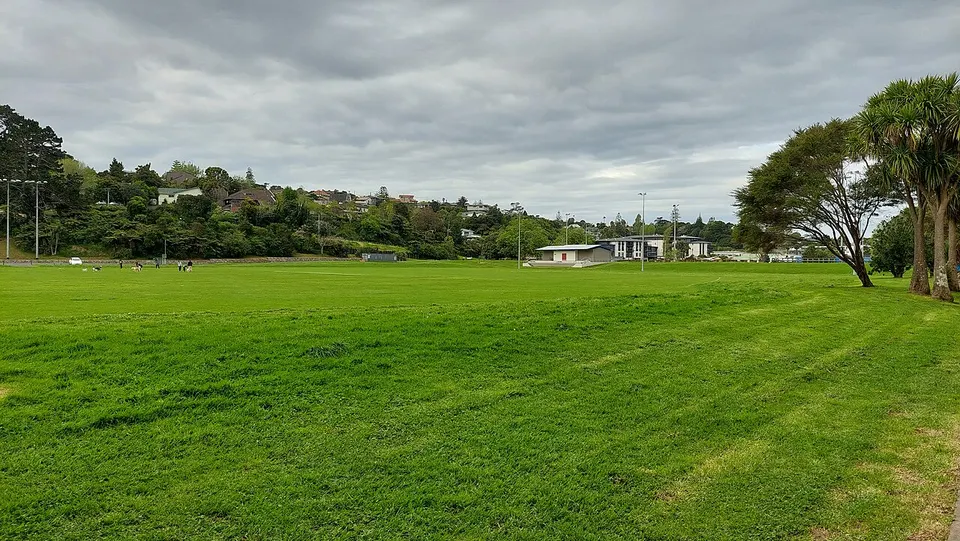
Auckland Region
Explore routes & places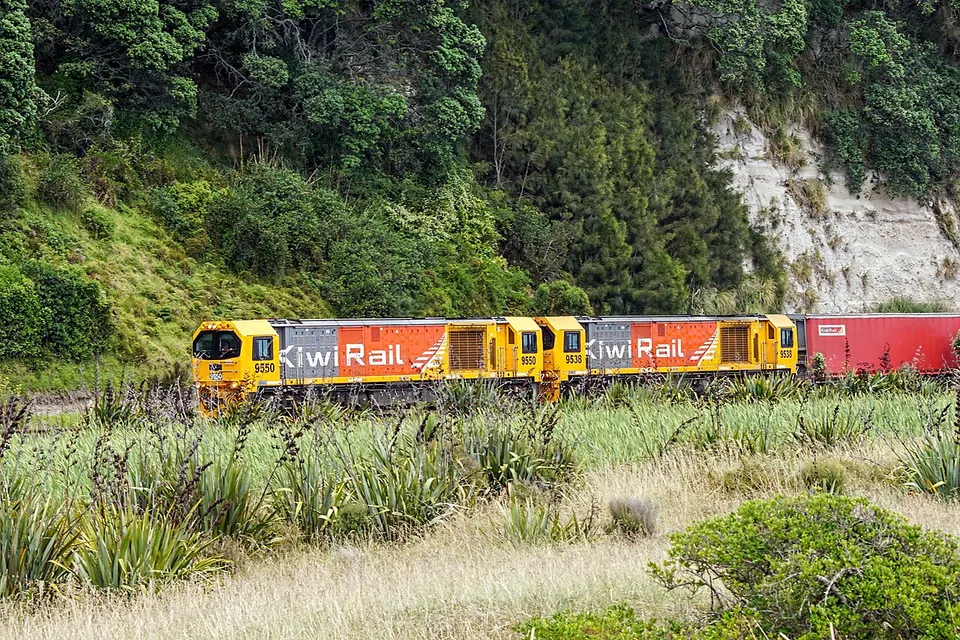
Bay of Plenty Region
Explore routes & places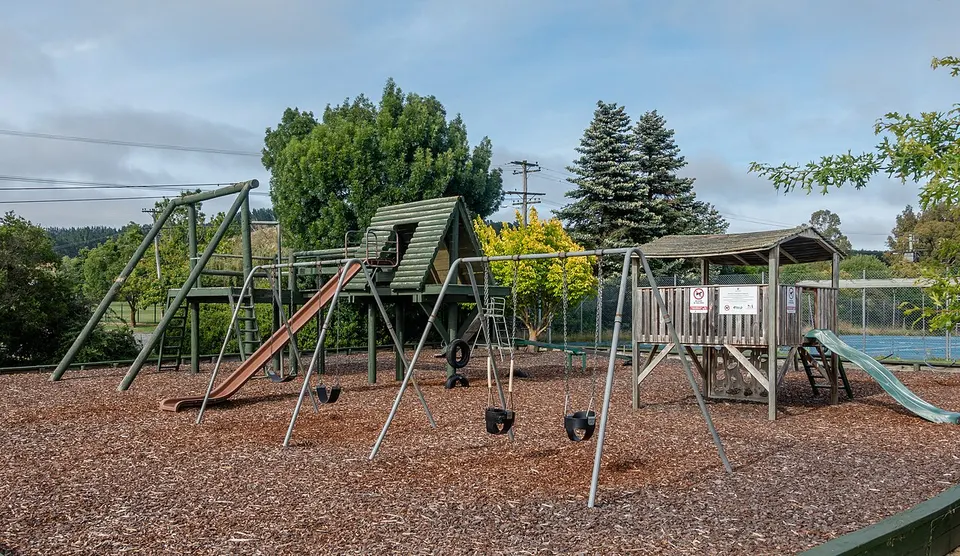
Canterbury Region
Explore routes & places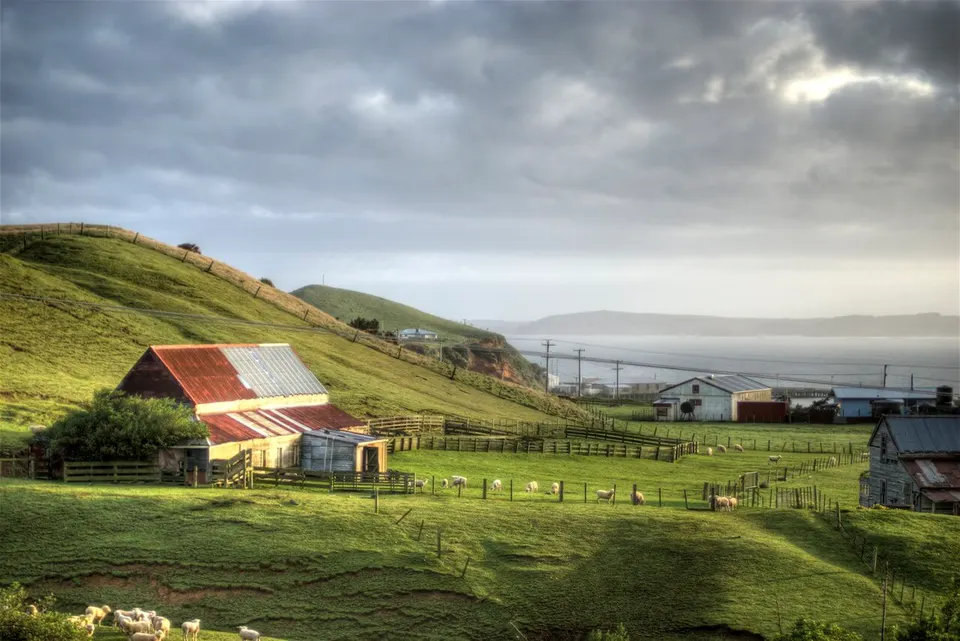
Chatham Islands Territory
Explore routes & places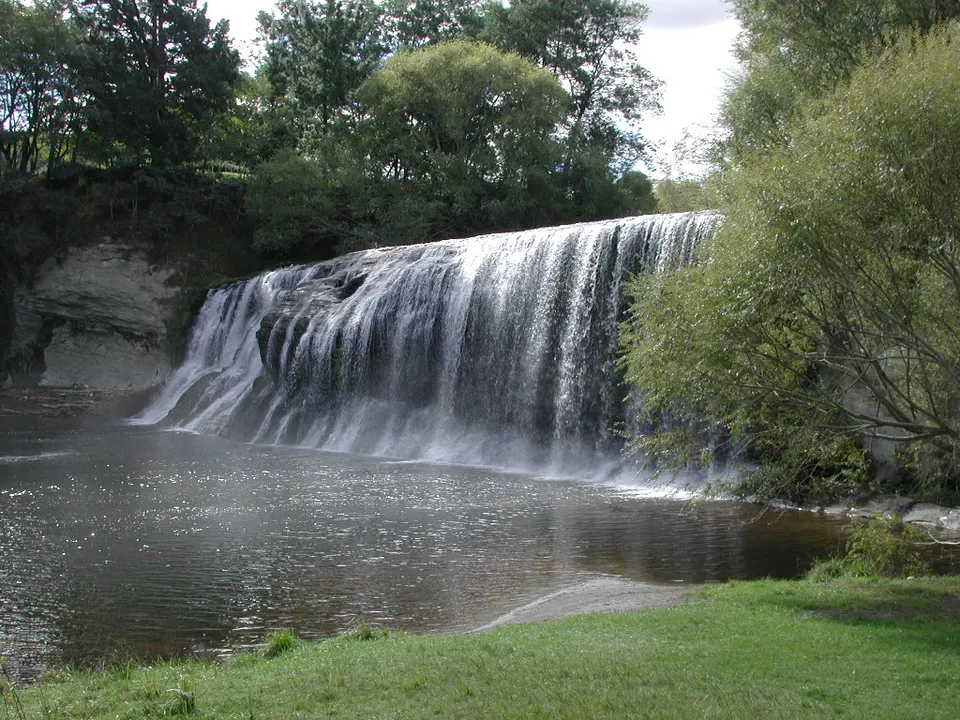
Gisborne Region
Explore routes & places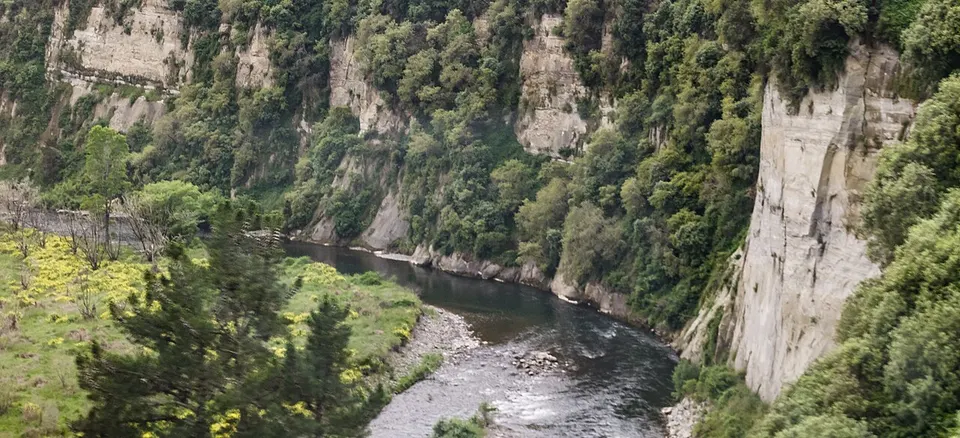
Hawke's Bay Region
Explore routes & places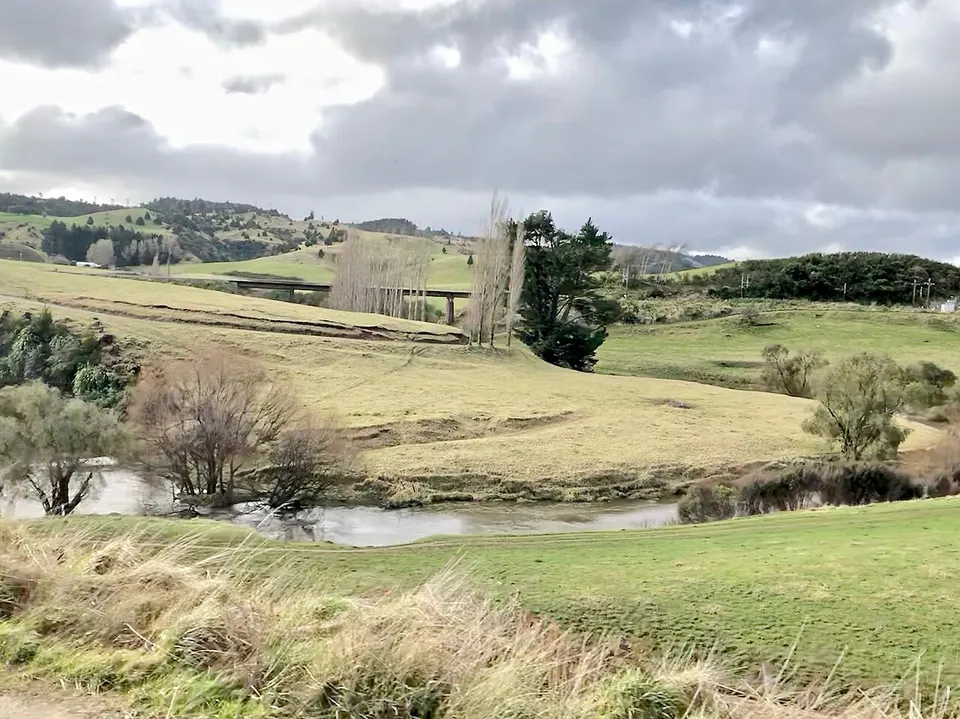
Manawatu-Wanganui Region
Explore routes & places
Marlborough Region
Explore routes & places
Nelson Region
Explore routes & places
Northland Region
Explore routes & places
Otago Region
Explore routes & places
Southland Region
Explore routes & places
Taranaki Region
Explore routes & places
Tasman Region
Explore routes & places
Waikato Region
Explore routes & places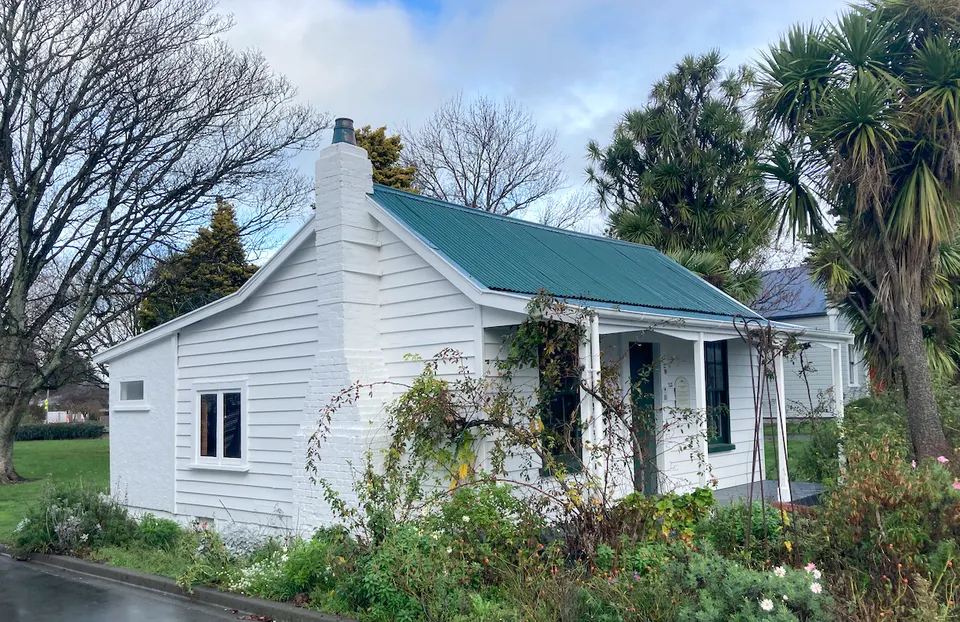
Wellington Region
Explore routes & places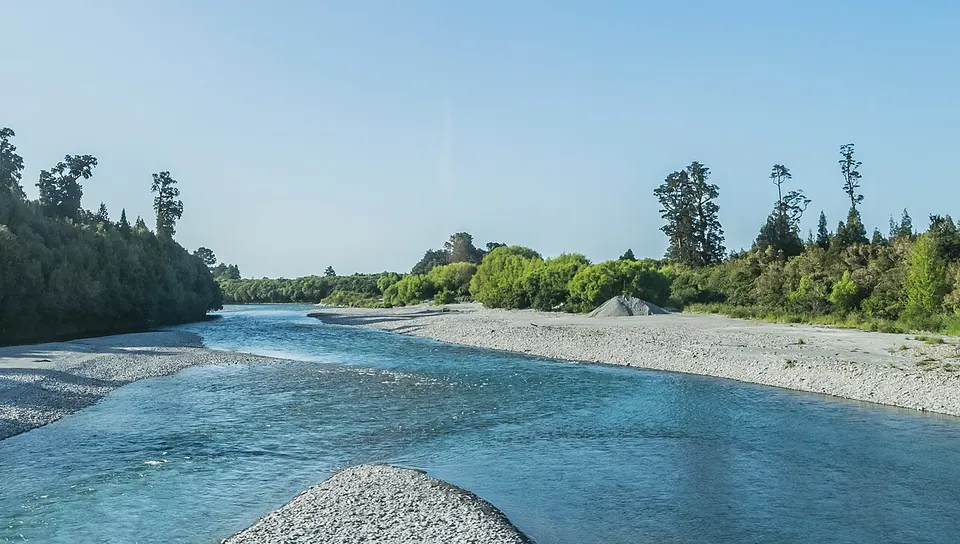
West Coast Region
Explore routes & places
Routes & places
- HutHut
Ball Hut
New Zealand
- Capacity: 3
- HutHut
Ballarat Hut - Flood Burn
New Zealand
Explore place - HutHut
Ballarat Hut - Flood Burn
New Zealand
Explore place - HutHut
Ballard Hut
New Zealand
Explore place - HutHut
Ballard Hut
New Zealand
Explore place - HutHut
Balloon Hut
New Zealand
- Capacity: 14
- HutHut
Balloon Hut
New Zealand
- Capacity: 14
- HutHut
Balmoral Huts
New Zealand
Explore place - HutHut
Balmoral Huts
New Zealand
Explore place - Route · lift
Banana Gully Tow
New Zealand
- 0.5 km mapped
- Route · lift
Banana Gully Tow
Tukino Skifield
- 0.5 km mapped
- HutHut
Banfield Hut
New Zealand
Explore place - HutHut
Banfield Hut
New Zealand
Explore place - HutHut
Barbers Hut
New Zealand
Explore place - HutHut
Barbers Hut
New Zealand
Explore place - RouteRoute · Climbing
Barefoot
New Zealand
- sport
- HutHut
Bark Bay Hut
New Zealand
Explore place - HutHut
Bark Bay Hut
New Zealand
Explore place - HutHut
Barker Hut
New Zealand
- Capacity: 10
- HutHut
Barker Hut
New Zealand
- Capacity: 10
- HutHut
Barlow Hut
New Zealand
Explore place - HutHut
Barlow Hut
New Zealand
Explore place - HutHut
Barneys Whare
New Zealand
Explore place - HutHut
Barneys Whare
New Zealand
Explore place