
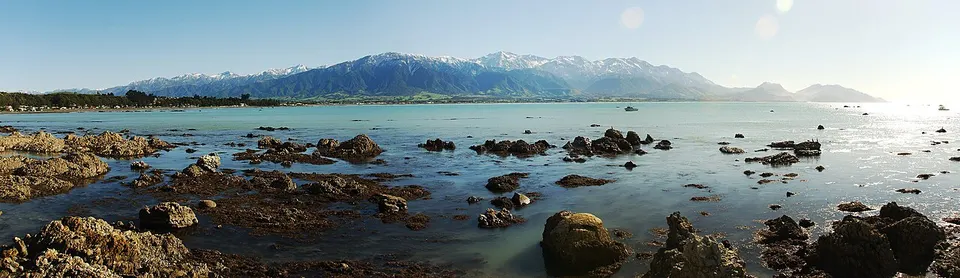
Provinces & regions
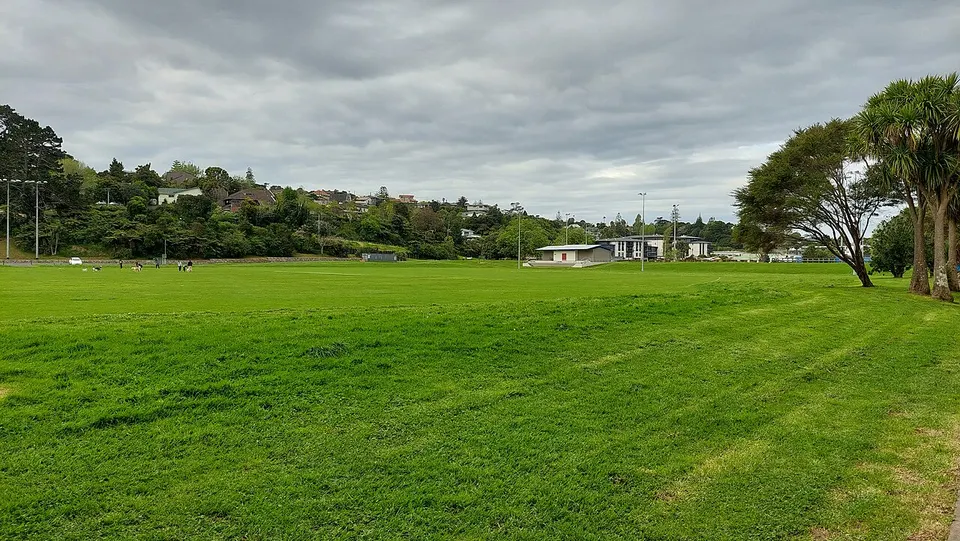
Auckland Region
Explore routes & places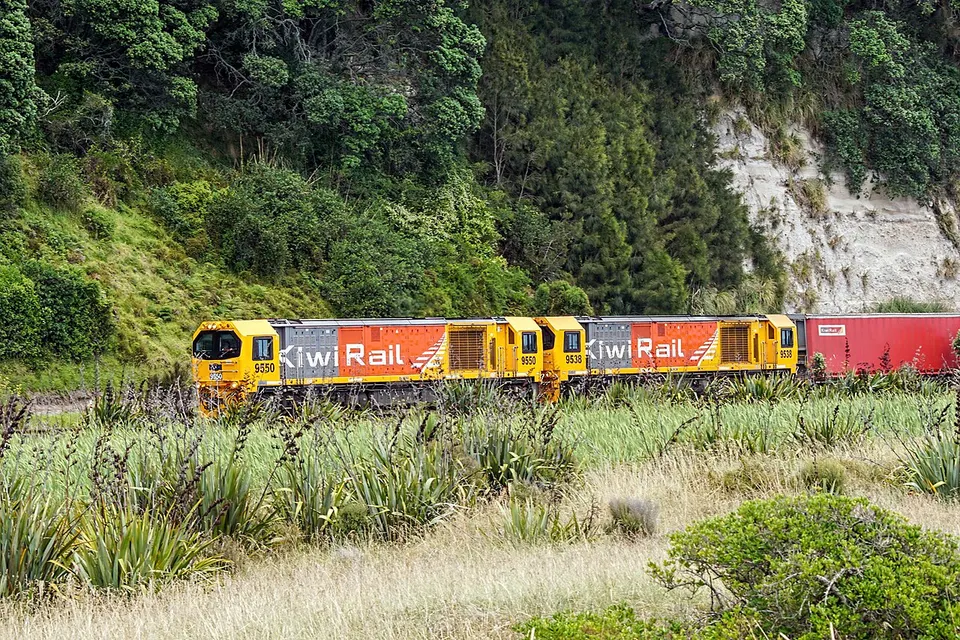
Bay of Plenty Region
Explore routes & places
Canterbury Region
Explore routes & places
Gisborne Region
Explore routes & places
Hawke's Bay Region
Explore routes & places
Manawatu-Wanganui Region
Explore routes & places
Marlborough Region
Explore routes & places
Nelson Region
Explore routes & places
Northland Region
Explore routes & places
Otago Region
Explore routes & places
Southland Region
Explore routes & places
Taranaki Region
Explore routes & places
Tasman Region
Explore routes & places
Waikato Region
Explore routes & places
Wellington Region
Explore routes & places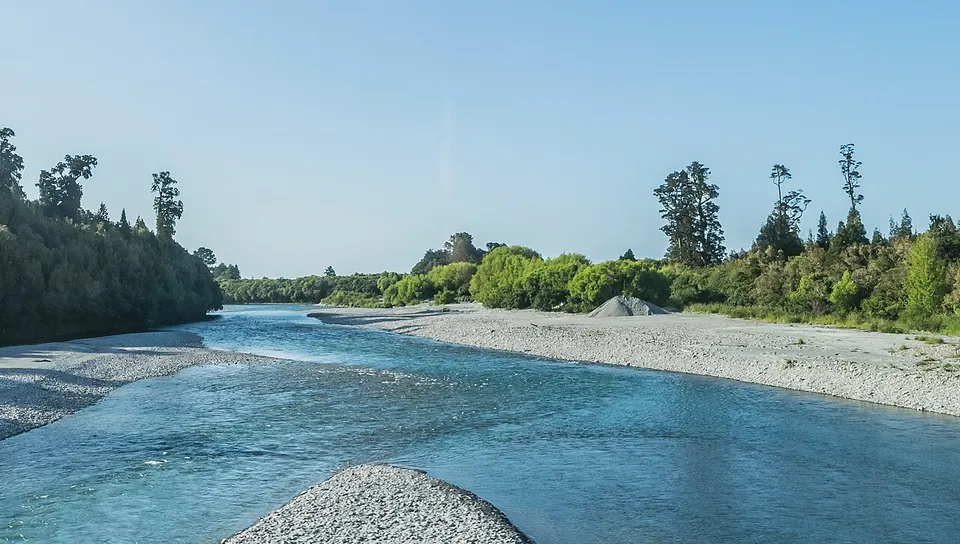
West Coast Region
Explore routes & places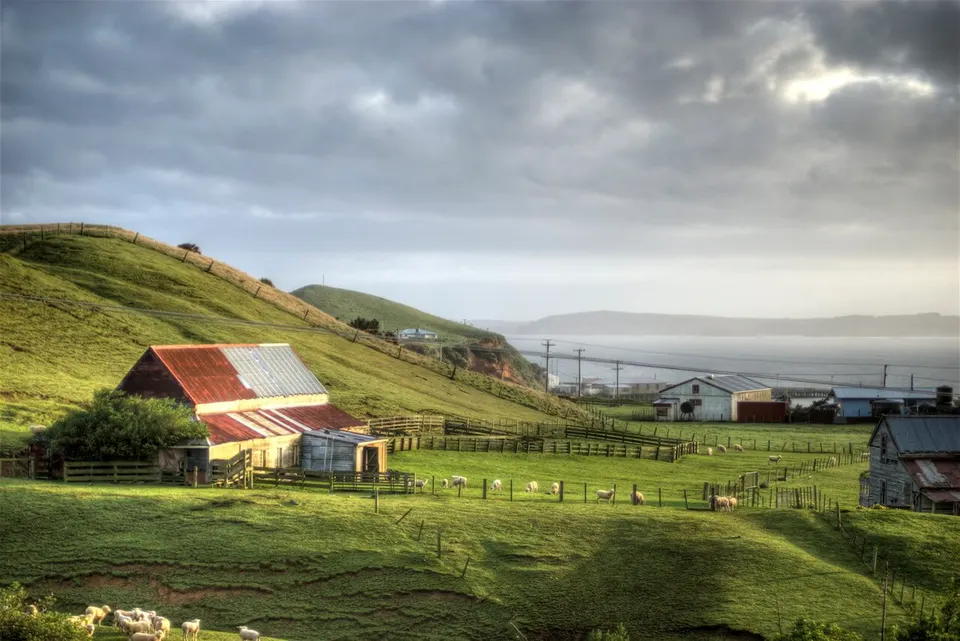
Chatham Islands Territory
No routes or places available
Routes & places
- HutHut
Branch Creek Hut
New Zealand
Explore place - HutHut
Brass Monkey Hut
New Zealand
- Capacity: 4
- HutHut
Brewster Hut
New Zealand
- Capacity: 12
- HutHut
Brian Boro Biv
New Zealand
Explore place - HutHut
Brills Bivouac
New Zealand
Explore place - HutHut
Broken River Hut
New Zealand
- Capacity: 4
- HutHut
Brown Hut
New Zealand
- Capacity: 16
- HutHut
Browning Hut
New Zealand
- Capacity: 8
- HutHut
Browning Range Bivouac
New Zealand
- Capacity: 2
- HutHut
Buckland Peaks Hut
New Zealand
Explore place - HutHut
Bull Creek Hut
New Zealand
- Capacity: 4
- HutHut
Bull Flat Hut
New Zealand
Explore place - HutHut
Bull Paddock Creek Hut
New Zealand
Explore place - HutHut
Bungaree Hut
New Zealand
Explore place - HutHut
Burn Creek Hut
New Zealand
- Capacity: 2
- HutHut
Burn Hut
New Zealand
- Capacity: 6
- HutHut
Burnt Bush Hut
New Zealand
Explore place - HutHut
Burnt Yards Hut
New Zealand
Explore place - HutHut
Bush Hut
New Zealand
Explore place - HutHut
Buster Hut
New Zealand
Explore place - HutHut
Buster Shelter Hut
New Zealand
Explore place - HutHut
Cabbage Tree Hut
New Zealand
Explore place - HutHut
Cairnmuir Musterer's Hut
New Zealand
Explore place - HutHut
Cam Hut
New Zealand
Explore place